How to use Node-RED for IoT in Manufacturing - Part 2
In the previous part of this blog post series, we introduced Node-RED and its benefits for IoT in manufacturing. In this part, we will show you how to install and run Node-RED on a Raspberry Pi.
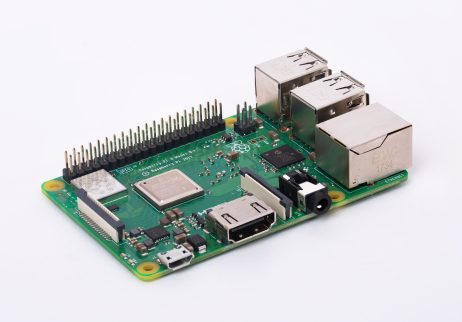
What is a Raspberry Pi?
A Raspberry Pi is a small, low-cost, and versatile computer that can run various operating systems and applications. It has a range of input/output (I/O) ports that allow it to connect to various hardware devices, such as sensors, cameras, displays, etc. It also has built-in Wi-Fi and Bluetooth connectivity that enable it to communicate with other devices or services.
A Raspberry Pi can be used as an IoT gateway that acts as a bridge between the IoT sensors or devices and the internet or a cloud service. It can run Node-RED as a software application that allows you to create IoT applications by wiring together hardware devices, APIs and online services.
How to install and run Node-RED on a Raspberry Pi?
The installation and running of Node-RED on a Raspberry Pi are quite simple. The steps are as follows:
- Connect the Raspberry Pi to the internet via Wi-Fi or Ethernet cable.
- Open a terminal window on the Raspberry Pi or access it via SSH from another computer.
-
Run the following command to install Node-RED on your Raspberry Pi:
bash < (curl -sL https://raw.githubusercontent.com/node-red/linux-installers/master/deb/update-nodejs-and-nodered)This command will download and install Node-RED and its dependencies on your Raspberry Pi.
-
Run the following command to start Node-RED on your Raspberry Pi:
node-red-pi --max-old-space-size=256This command will run Node-RED with an additional argument to tell the underlying Node.js process to free up unused memory sooner than it would otherwise.
-
Open a browser window on your Raspberry Pi or another computer and enter the following URL to access the Node-RED web portal:
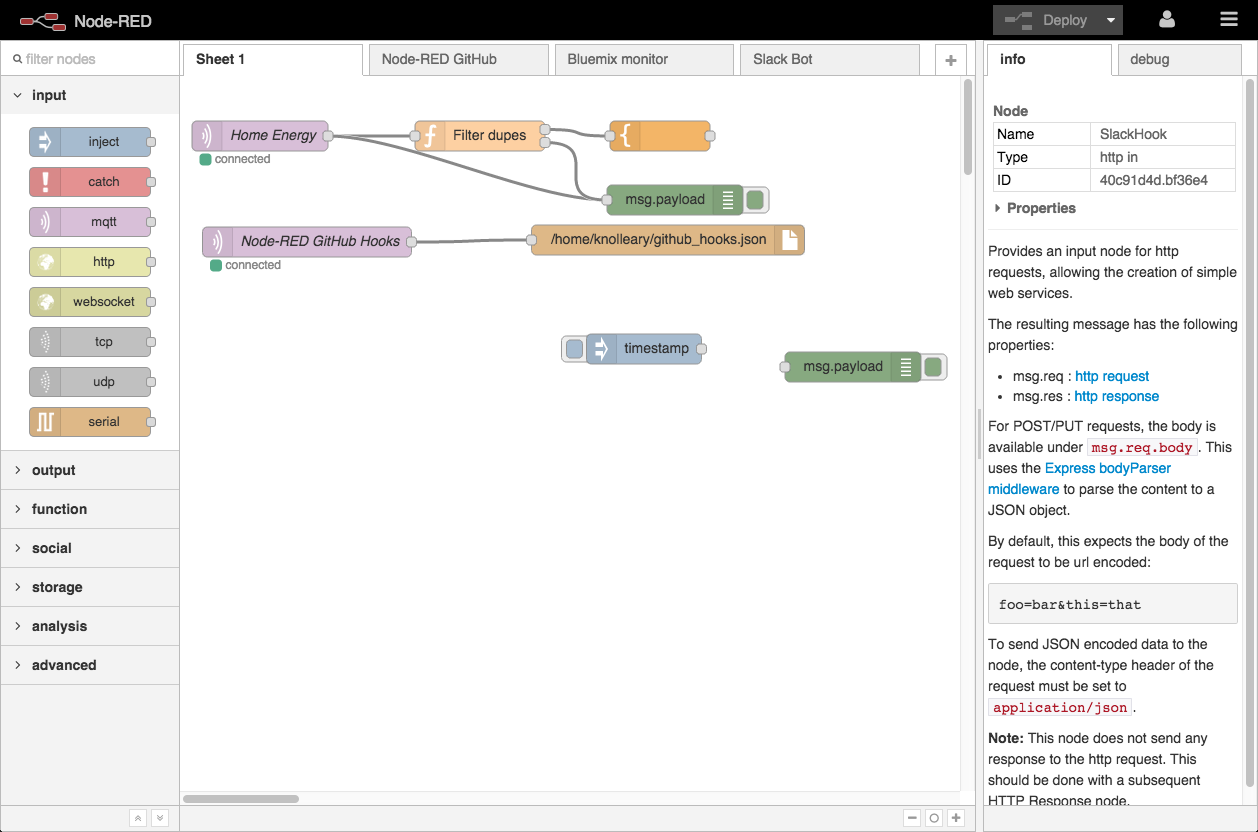
http://raspberrypi:1880You will see the Node-RED flow editor where you can create your IoT application by dragging and dropping nodes from the palette to the workspace and connecting them with wires.
You have successfully installed and run Node-RED on your Raspberry Pi. In the next part of this blog post series, we will show you how to create a simple IoT application with Node-RED.
Stay tuned!
- Install Node RED on Your Raspberry Pi : 4 Steps - Instructables Accessed 4/10/2023.
- Running on Raspberry Pi : Node-RED Accessed 4/10/2023.
- Getting Started : Node-RED Accessed 4/10/2023.
- How to install Node-RED and AutoStart on boot on Raspberry pi? Accessed 4/10/2023.
- Install Node-RED on Raspberry Pi (32-bit and 64-bit RPI OS) Accessed 4/10/2023.
- Installing and Starting Node-Red - Steves Node-Red Guide Accessed 4/10/2023.